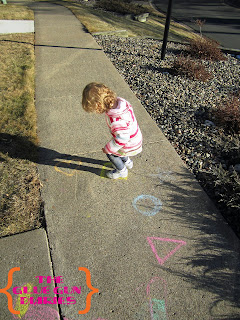
Hats are like cookies, they disappear quickly when you give them to kids! I bought 3 at the start of the season and I know where one currently sits. I am sure they will all show up at one point, most likely when I need them least like around the 4th of July. I will be digging for her swimsuit and will find all the mates to her socks and hats
.
Now that hats and mittens are on clearance I thought I would grab a few hats for our dwindling collection. I saw knit caps at Target, they were in the adult section but both my daughter and I have large heads. I tried one on and it covered about 1/3 of my massive skull. Juice, on the other hand, was able to pull it down to her ears. SCORE! I grabbed 2 at $1.50 each. I knew I was going to do a flower on the plain pink one but not sure what I was going to do with her striped hat. I went to work playing with my large stash of buttons and threw together many option before finding the one I loved.
How to do it all
◘Thread a length of ribbon through two buttons and tie a knot in the back to keep them secure until ready to glue to hat.
◘ Position button stacks leaving about 2 inches of extra ribbon hanging off edge of hat.
◘ Apply hot glue to the back of each button stack and attach to hat. Making sure, when attaching the glue, you don’t apply too much or you risk gluing the hat together. Once I glued down each button I made sure I could still open the hat.
◘ Once buttons are secure flip the hat inside out and glue the ribbon down to the inside of the hat. I keep one sewing needing for placing small items on hot glue, it saves my fingers from burns. I place the glue and use the sewing needle to press the ribbon into the glue.

◘ Trim the ribbon
I made two hats and this is my favorite, I will try to write up a tutorial on the other at some point. For now you can just see how cute Juice looks in her hats!
 |
| I believe she had grown tired of the flash |
 |
| Ok, mom, NO. More. Flash! |
 |
| Hat number 2. Enjoy! |


